Help - Layers

Realtime Playtest

Layers

Group components into named, ordered render layers so you control exactly what shows over what, no matter how pieces are moved.

Layers

Every component on the table sits on a layer, and layers stack in an order you control. Anything on a lower layer is always drawn beneath everything on a higher layer, no matter how the individual pieces are moved or reordered. Every room starts with a single base Tabletop layer, and the host can add more above or below it.

A typical use: make a Boards layer and place it under Tabletop. Now board components can never cover cards, tokens, or dice — they stay in the background even when you drag a card across them.
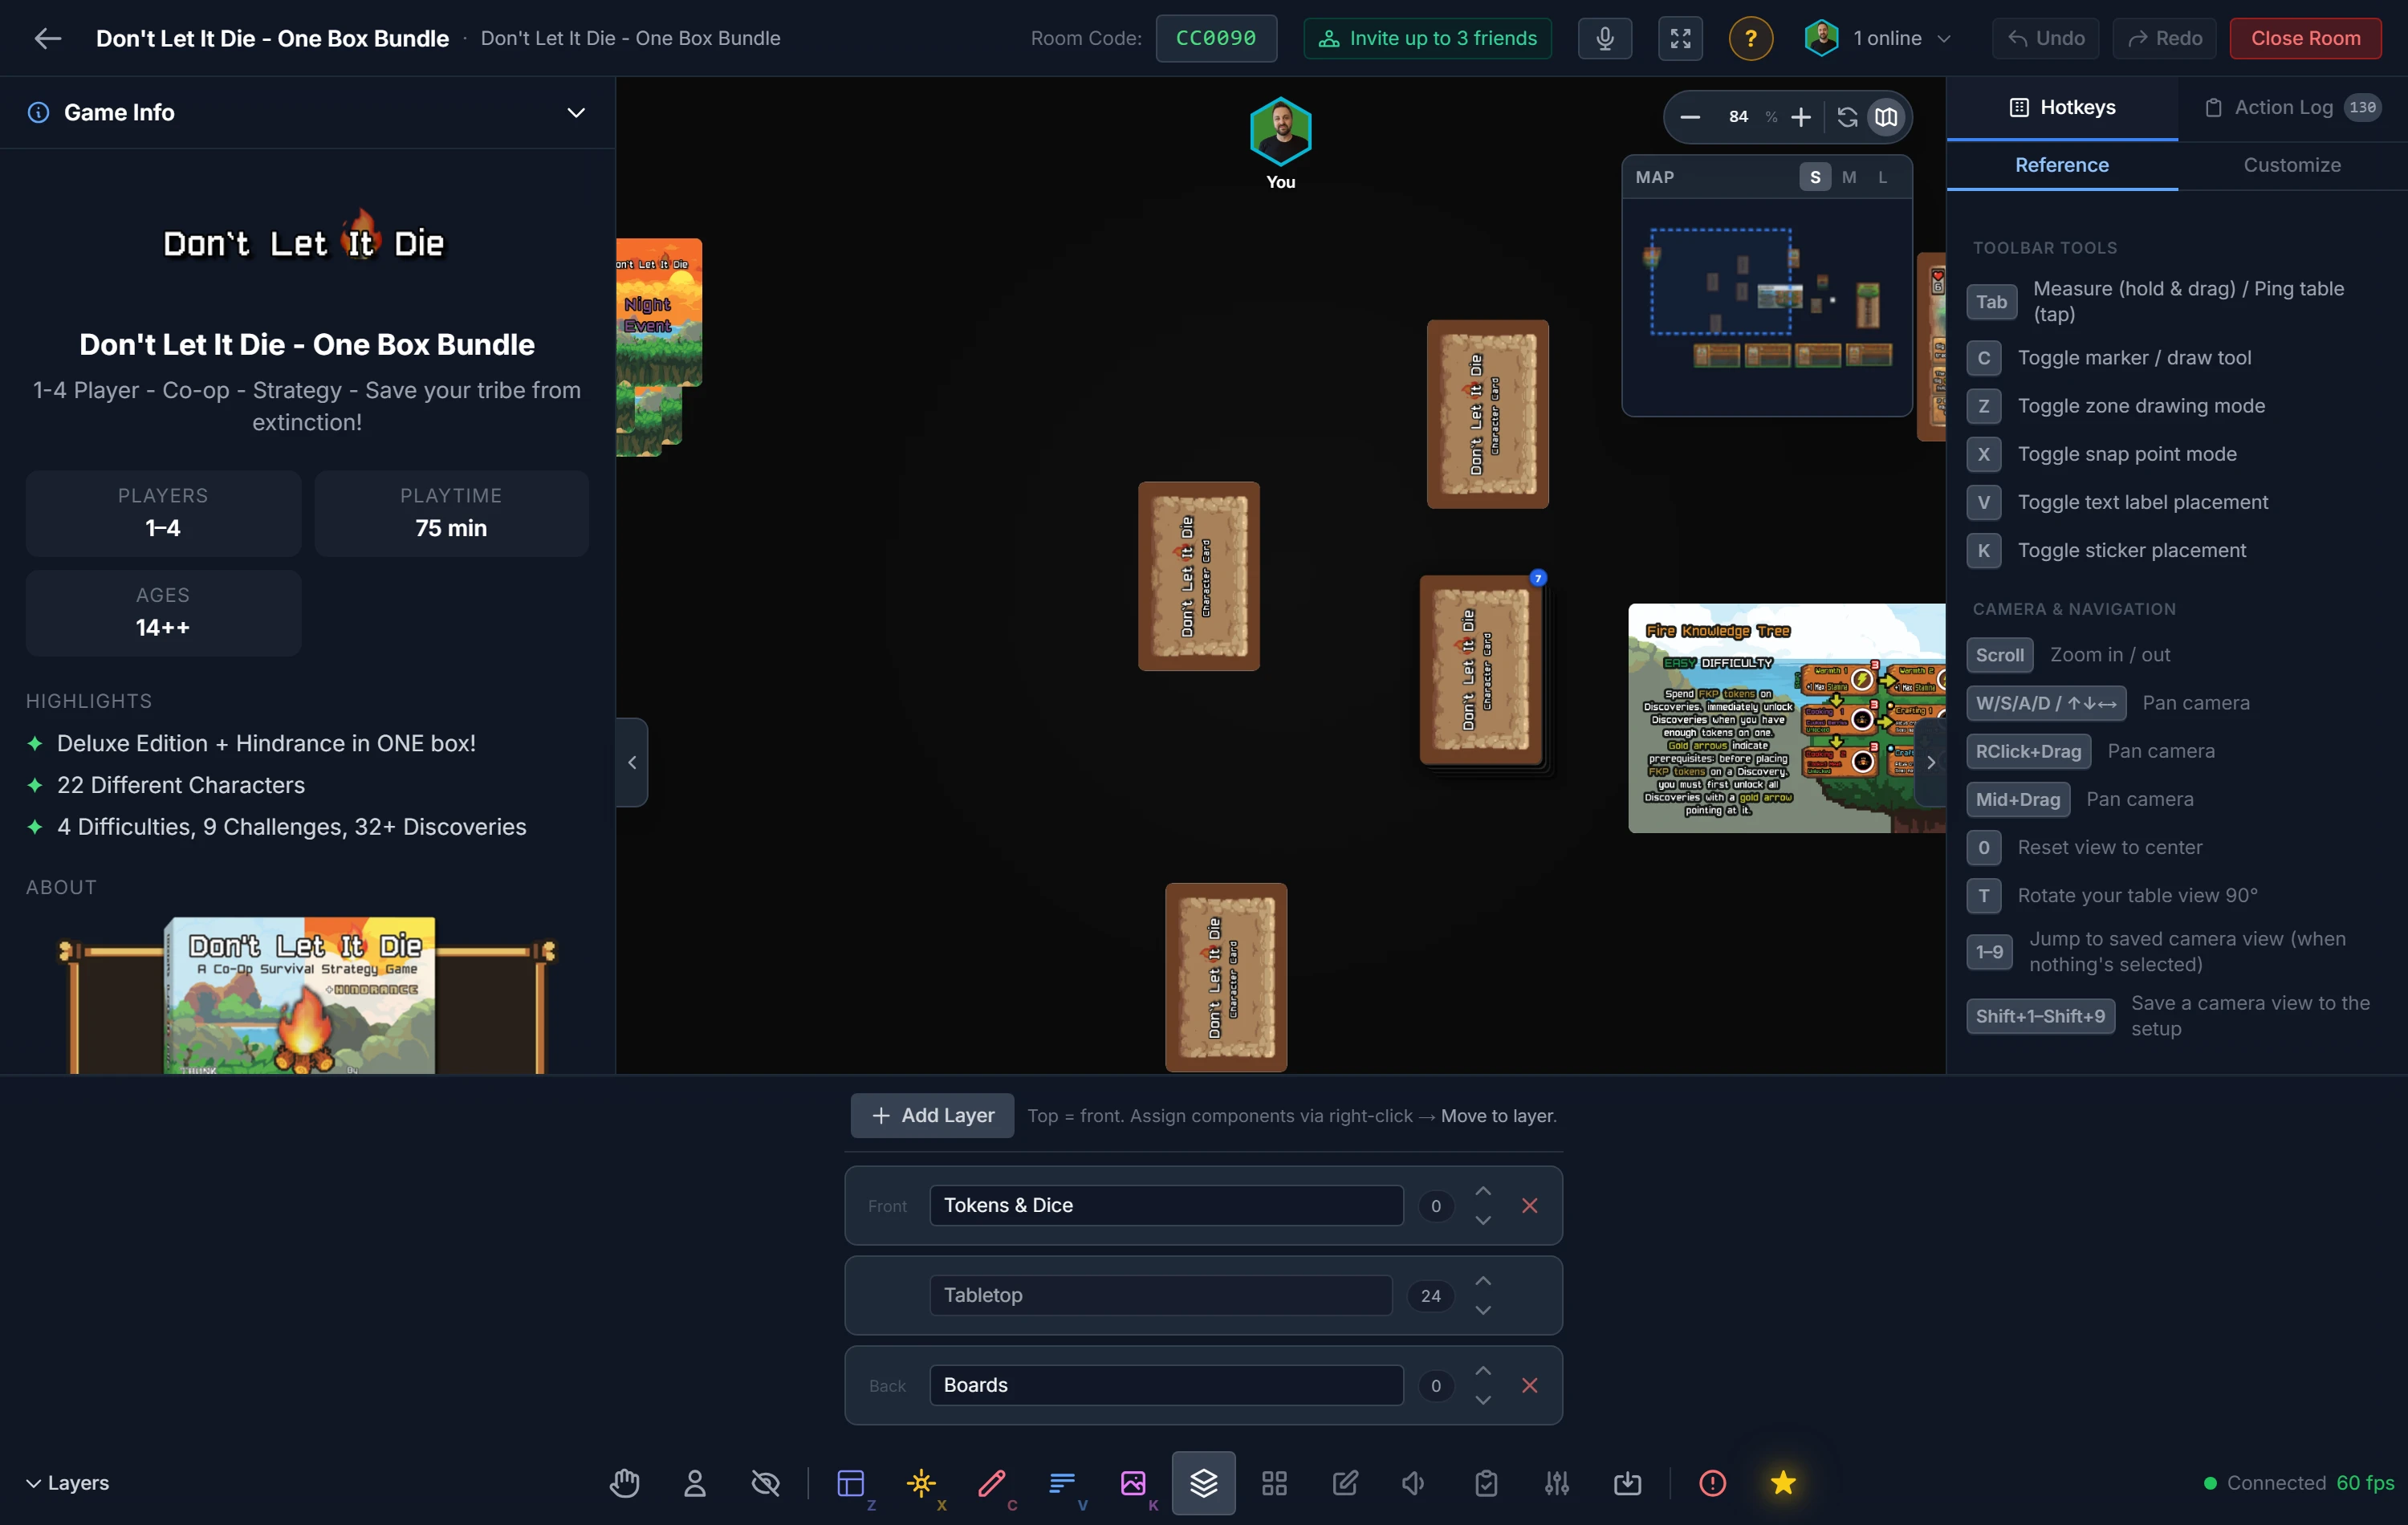
The Layers panel with three layers — Tokens & Dice on top, the base Tabletop, and Boards at the back — each with reorder and rename controls

Managing Layers (host)

Open the Layers panel from the toolbar (the stacked-squares icon). From there you can:

  • Add Layer , creates a new empty layer.
  • Rename , click a layer's name and type a new one.
  • Reorder , drag a row by its grip (the dotted handle on the left), or use the up/down arrows. The top of the list is the front (drawn over everything); the bottom is the back.
  • Remove , deletes a layer; its components fall back to the Tabletop layer.

The base Tabletop layer can't be renamed or removed, but it can be reordered, so you're free to place other layers above or below it.

Assigning Components to a Layer

Layers are filled manually, one component (or selection) at a time:

  1. Right-click a component (or a multi-selection) and open the Layering submenu.
  2. Under Move to layer, pick the layer you want. A check mark shows the component's current layer.

New and unassigned components live on the Tabletop layer by default. Anyone in the room can move components between layers, not just the host.

Layer Restrictions (host)

A layer can also decide what may be done to the components on it, not just where they draw. Click the lock button on a layer's row in the Layers panel. You get the same ten restrictions the right-click Restrictions menu sets on a single component:

Lock, Prevent Stacking, Prevent Bagging, Prevent Hand, Prevent Snap to Point, Prevent Snap to Grid, Ignore Zone Rules, Prevent Snap Follow, Prevent Auto-Lift, and Prevent Auto Adjust Layer Order.

Each one has three settings, not two:

  • No rule (the default) , the layer says nothing. Every component keeps whatever it was set to.
  • Force on , the restriction applies to everything on the layer.
  • Force off , the restriction is switched off for everything on the layer, even on pieces that had it turned on individually.

Force off is there for the cases forcing something on cannot reach. A staging layer where every card can be picked up no matter what each card says, for example, or a scratch layer where nothing is locked while you rearrange it.

What a rule does to your components

A rule applies to everything on the layer straight away, and to anything you move onto the layer afterwards. Cards inside a deck follow the deck, so a card drawn out of a deck on a restricted layer keeps the rule.

While a layer has a rule for a restriction, that restriction cannot be changed on an individual component , the piece's own Restrictions menu will tell you the layer is forcing it, and which way. This is the point of the feature: a rule you can switch off per piece is not a rule.

Setting a rule back to No rule puts every component back to what it was before the layer touched it. A piece you had locked by hand is still locked; a piece you had not is not. The layer only ever gives back what it took.

The lock button shows a count of how many restrictions that layer has a rule for, in either direction, so you can see at a glance which layers are governing their contents.

Putting a Zone on a Layer

Zones sit in the layer stack too. A zone draws at the bottom of its layer: under every component on that layer, over everything on the layers beneath it.

That is how you stop a board from burying a zone. Put the board on a layer below the zone's, and the zone shows through, while the cards and tokens you play into it still sit on top.

Set it from the Zones panel, either way round:

  • Draw into, beside Draw New Zone, chooses the layer the next zone you draw lands on.
  • Layer, beside a selected zone's opacity, moves a zone that already exists.

Both appear only once there is more than one layer to choose between. Each row in the Layers panel shows how many zones are on it.

Note

A raised zone only changes what you see, never what you can grab. During play it's painted on top but clicks pass straight through it to the pieces underneath. It takes clicks only while you're working on zones (the Zones panel open, or drawing/resizing one) — and in those modes table pieces are paused anyway. Right-click (or long-press) still opens the zone's menu wherever no component covers it.

Layer Order vs. Within-Layer Order

These are two separate controls that work together:

  • Layer order (the Layers panel) decides which group sits in front. This is the hard boundary, a lower layer never crosses above a higher one.
  • Send to Back / Front / Back 1 / Forward 1 (right-click , Layering) reorders a component only against others on its own layer. It can't push a piece out of its layer's band.

Note

Layers sync to everyone in real time and are saved with table setups, so a layout you arrange once comes back exactly as you left it, including in session replays.

Tip

If a piece keeps jumping in front of where you want it, check which layer it's on (the check mark in Move to layer) before reaching for Send to Back, the layer it lives on may be the real reason.


Related: Moving & Arranging Objects · Zones · Host Controls