Grids & Snapping
Freeform tables are great for card games, but a lot of designs want pieces to sit exactly on a square or hex. Two tools give you that precision: a table grid that covers everything, and per-board grids for individual boards. (For aligning pieces to specific, irregular spots, see Snap Points.) All of these are host and co-host only.
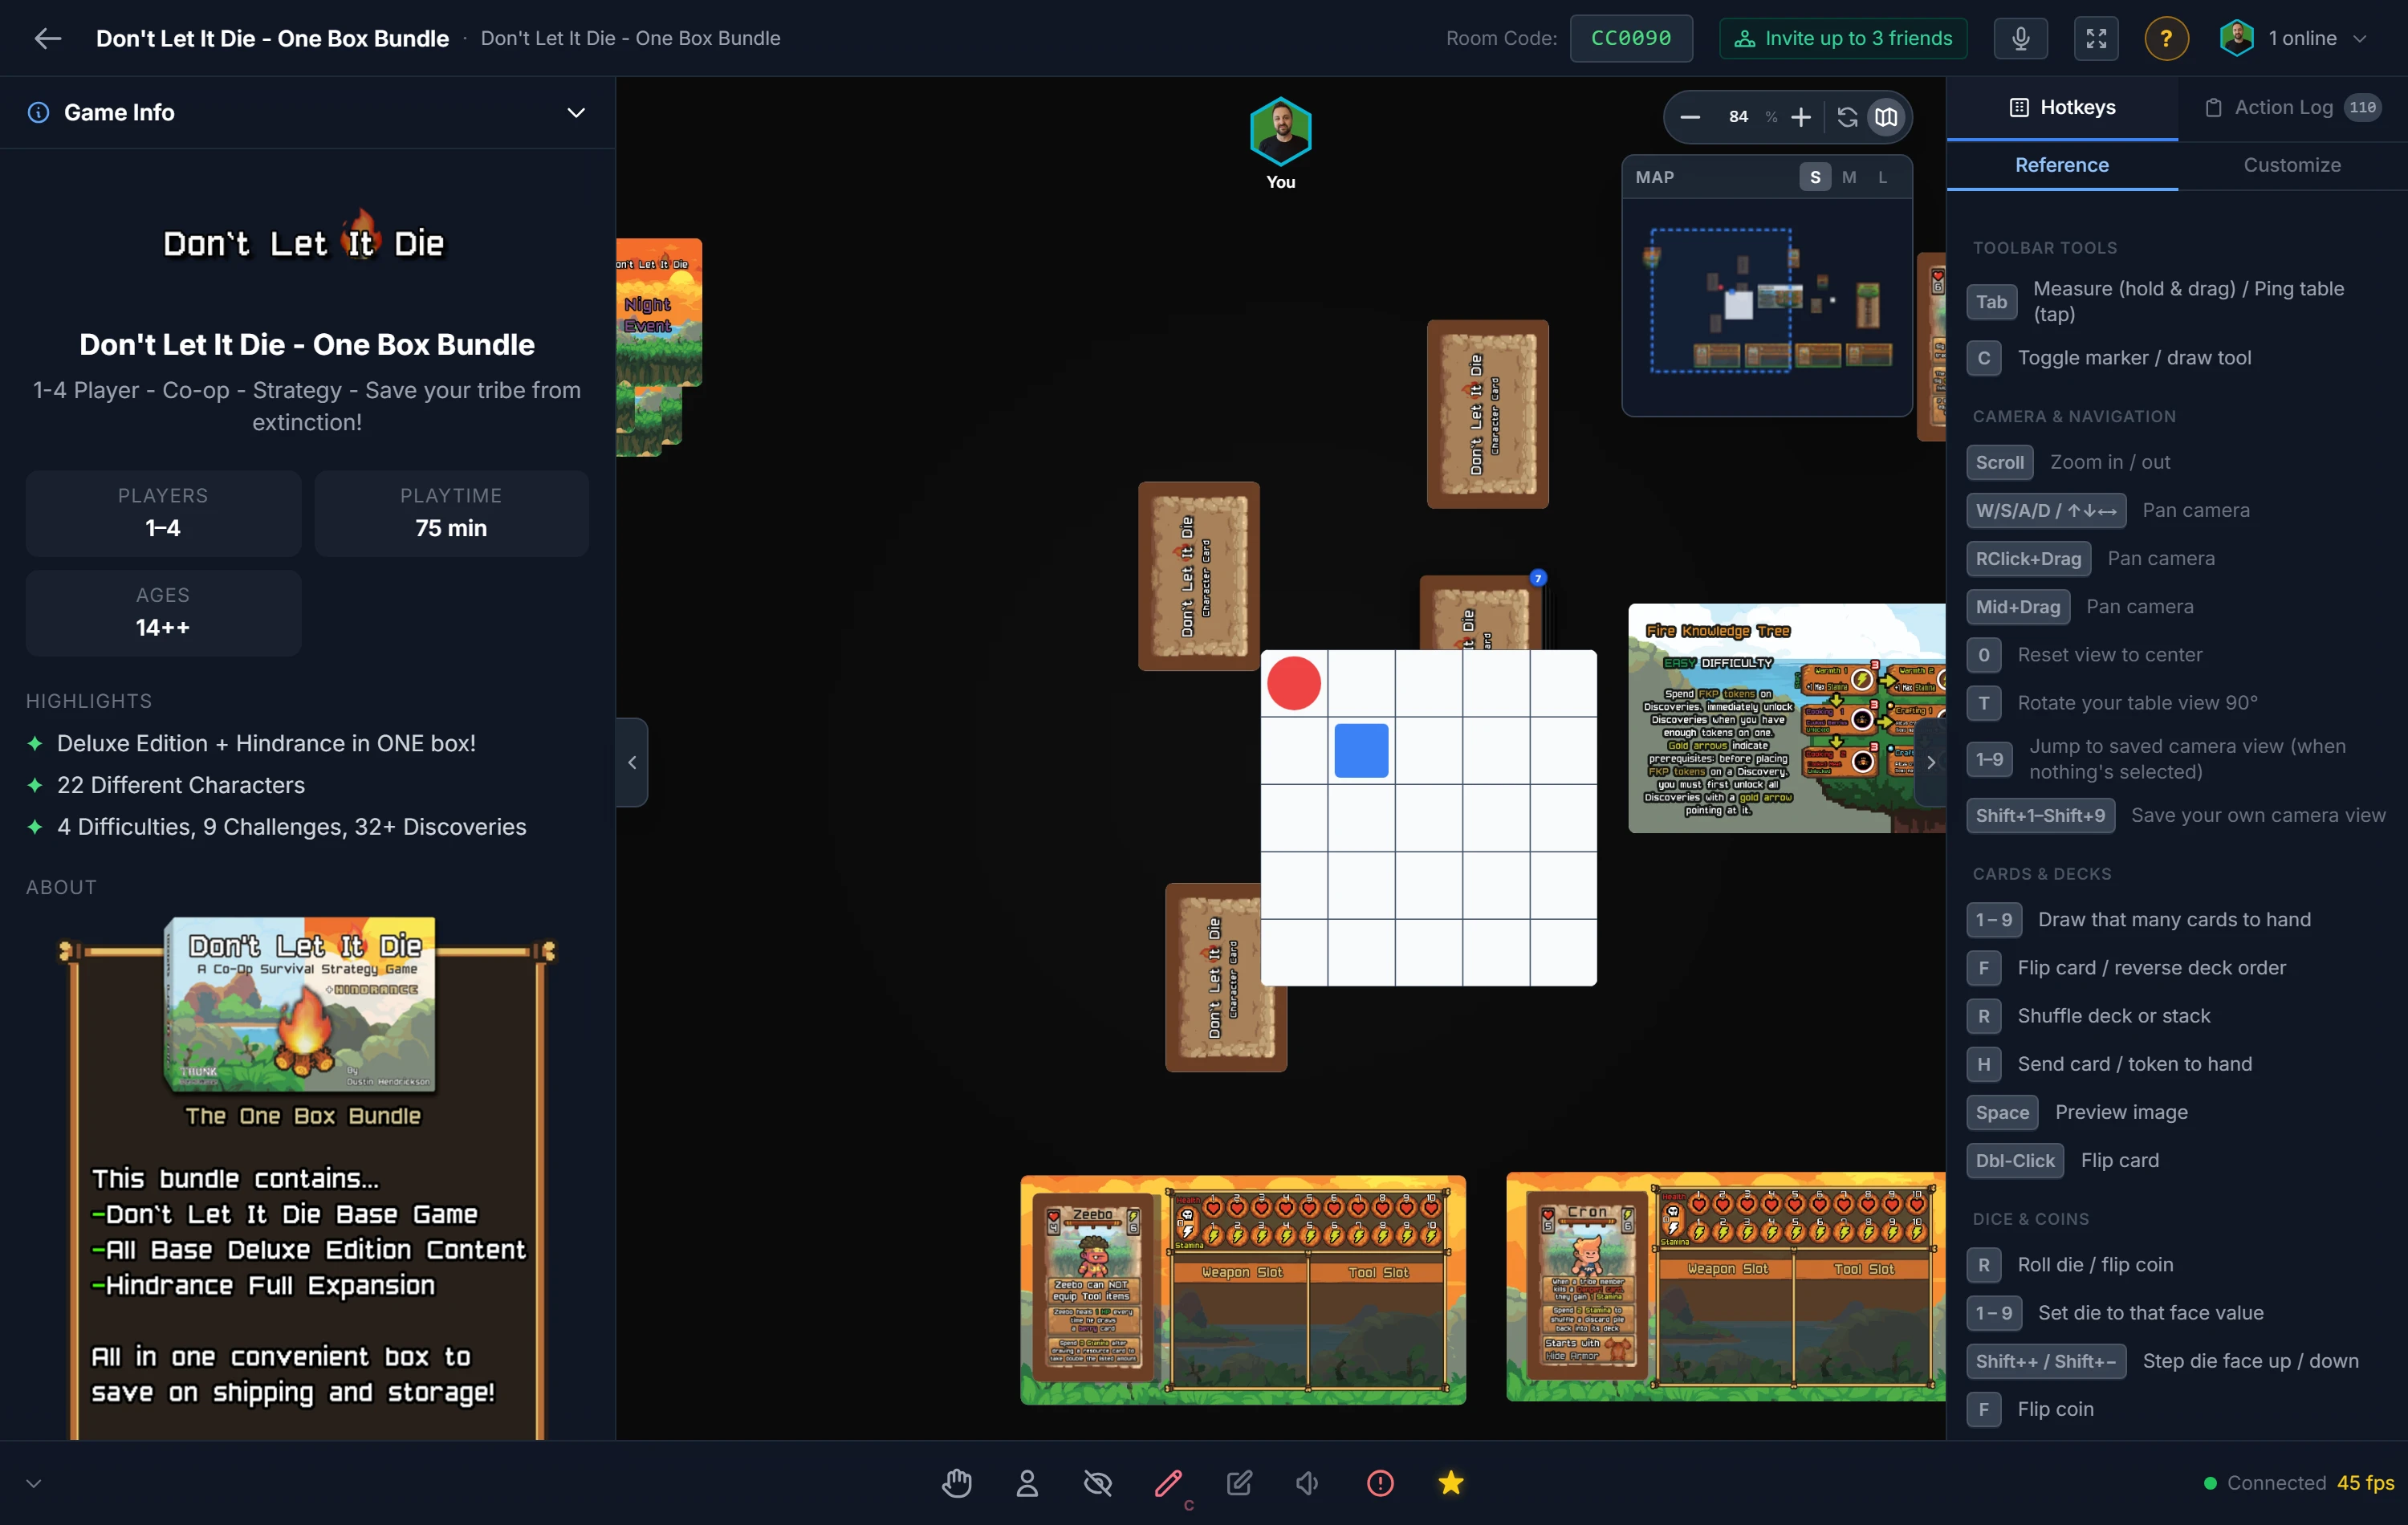
The Table Grid
The table grid lays an alignment lattice over the whole table. Turn it on, and pieces you drag, paste, or spawn click into place instead of landing wherever your mouse let go. It's the quickest way to make a tidy battle map or a square-grid puzzle.
You'll find it under Room Options in the bottom toolbar (host only):
- Type: Square, Hex Flat, or Hex Pointy, to match your game's geometry.
- Size: the cell size, in inches.
- Show grid: draw the lattice so players can see it (you can also snap without showing it).
- Snap: actually pull pieces onto the grid as they're placed.
- Line color: pick one, or leave it on Auto to contrast with your background.
- Snap location: Center drops pieces in the middle of a cell; Intersection drops them on the line crossings (the hex vertices, on a hex grid). More on that below.
Per-Board Grids
Here's the powerful part: any board can carry its own grid, independent of the table, configured separately for its front and back face. A hex-map board can snap to hexes while the rest of the table stays freeform, and flipping the board to its night-side map can switch to a different grid entirely.
Right-click a board → Board Grid:
- Front / Back: each face has its own settings; switch which you're editing.
- Show grid and Snap: independent toggles, both off by default. Show a grid without snapping, or snap without showing the grid; whatever the board needs.
- Type, Size, Snap location, Line color, same meanings as the table grid (the selected type highlights green).
- Fit, Move and Reset line the grid up with a grid printed in your art. See Lining the grid up with your art.
Important
A board grid wins over the table grid. Drop a piece on a snap-enabled board and it snaps to that board's grid, correctly accounting for the board's position, rotation, and scale, and falls back to the table grid everywhere else. So a rotated hex board still snaps to its own hexes.
Board grid settings save with the component, so every future spawn of that board remembers them. You can also set them up ahead of time in the component editor's Appearance tab.
Tip
Worked example, a hex wargame map: spawn your map board, right-click → Board Grid → Front, choose Hex Flat, set the size to one hex, and turn on Snap (leave Show grid off if your art already shows the hexes). Now every unit you drop onto the map clicks to a hex center, and because the grid is the board's, it stays aligned even if you rotate the whole map.
Lining the grid up with your art
A board grid starts at the board's top-left corner and covers the whole board. Art often has its grid somewhere in the middle instead: a floor of tiles inside a border of walls, or a map inside a frame. Fit to a Box puts the grid exactly over it.
- Right-click the board → Board Grid, pick the face whose grid you are fitting (Front or Back), and turn on Show grid or Snap so the grid's settings appear. It has to be the face showing, so flip the board first to fit its back. Choose Square, Hex Flat or Hex Pointy to match the art.
- Next to Fit, enter how many cells the grid in your art has, across and down.
- Press Fit to a Box, then drag a box around the grid in the art, corner to corner. While you drag, the grid it will make is drawn inside the box.
Esccancels.
The grid then fills that box exactly and turns on Show grid so you can check it. It is drawn only inside the box, and with Snap on, pieces snap only inside it, so the walls around a floor never snap. Square cells take the box's width and height between them, so they match the art's cells even when those are not quite square. Hexes stay regular: the biggest that fit, centered in the box.
To fine-tune it:
- Move ◀ ▶ ▲ ▼ nudges the grid a small step per click, ten steps with
Shift. - Size still changes the cell size, and keeps a fitted cell's shape.
- Reset puts the grid back at the board's corner, over the whole board.
The fit saves with the component like the rest of the board grid, and resizing the board keeps the grid on the art. In the component editor's Appearance tab it shows as Start X, Start Y, Columns, Rows and Cell height for each face, where you can type or clear it.
Center vs. Intersection, which to use
This trips people up, so here's the rule of thumb:
- Center: pieces sit inside a cell. Use it for chess, checkers, hex maps, anything where a piece "occupies a space."
- Intersection: pieces sit on the corners where lines meet. Use it for Go, and many classic wargames, where stones or markers sit on grid points rather than in the squares.
On a hex grid, Intersection snaps to the hex vertices, the points where three hexes touch.
Tip
For aligning pieces to specific, one-off positions (a card slot, a dice tray, six start hexes) rather than an all-over lattice, use Snap Points instead.
Related: Snap Points · Moving & Arranging Objects · Component System